Tool care: why perform routine tool cleaning and maintenance
It may seem counter-intuitive to clean a tool that will get dirty again. But proper tool care starts with cleaning and maintenance. The routine ensures your garden tools maintain the correct working order and will last you for seasons. Winter time is an excellent opportunity to prepare your tools for spring. This guide covers everything you need to know to clean and maintain the typical gardening tools.
Cleaning materials needed
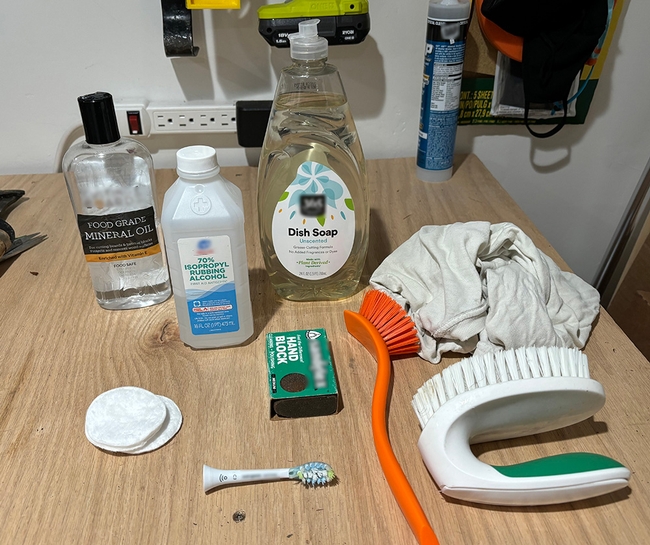
- Soft brushes, wire brushes, or scouring pads—old toothbrushes, retired dish sponges, etc. work well
- Mild detergent or dish soap
- Water bucket or utility sink
- Sandpaper
- Old rags/towels or paper towels
- Lubricating oil or spray—found in most hardware stores
- Boiled linseed oil—available in most hardware stores
- Rust remover
- Sharpening tools—files, sharpening stones
- Sanitizing tools—70% isopropyl alcohol, household spray disinfectants or wipes, or 10% bleach solution
- Cotton balls or pads
- Screwdrivers or other tools as needed—to fix any loose parts
Safety gear needed
Depending on the tool you're cleaning, we recommend you wear proper gear to protect yourself from injury.
- Work gloves
- Rubber or latex gloves—to protect your hands
- Long-sleeve shirt, long pants, closed-toed shoes
- Safety goggles
Cleaning hand tools
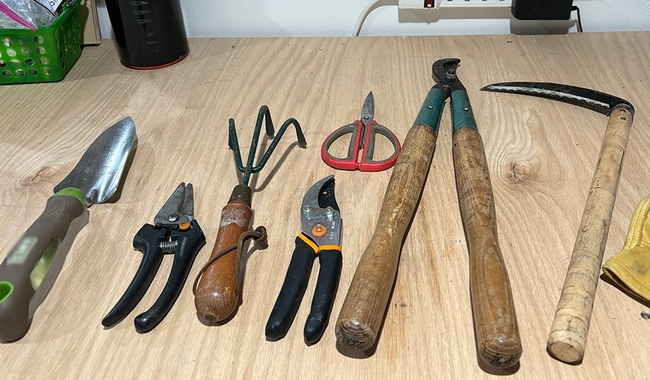
Hand tools include pruners, garden shears, trowels, shovels, and brooms.
- Remove dirt, grit, and sap with a brush or wire brush. Scrub off as much rust as possible with a wire brush or scouring pad. Wire brushes are helpful for cleaning in between saw blade teeth.
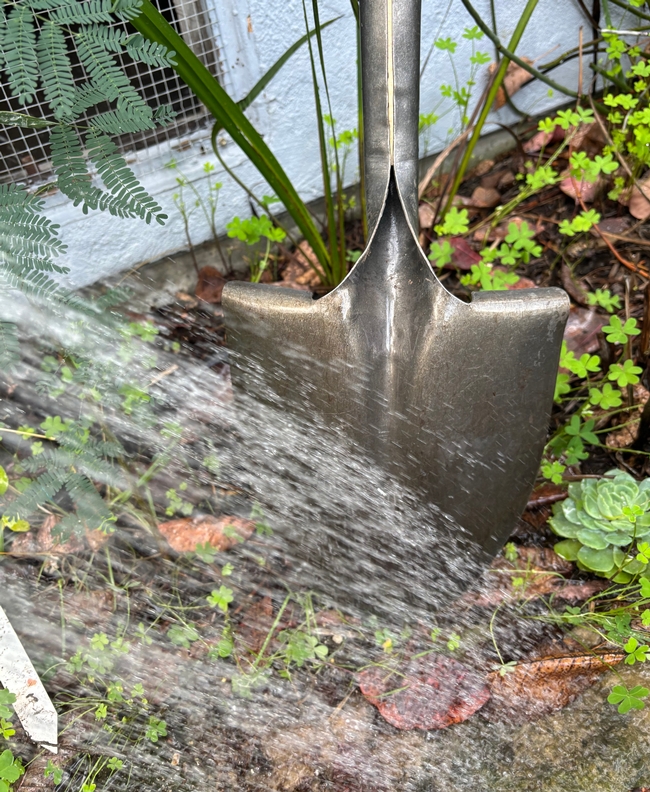
- Wash your tools with warm, soapy water. Soak tools for a few minutes if the grit and sap are tough to remove. Some tools can be taken apart for easier cleaning.
- Dry your tools thoroughly.
- If needed, sharpen dull blades with a sharpening tool.
- Check wooden handles for splinters. Gently remove fragments with sandpaper.
- Sanitize your tools with rubbing alcohol. With cotton pads, wipe the surfaces of your tools, especially any blades. Disinfecting your tools reduces the spread of diseases in subsequent uses.
- Lubricate any blades and moving parts. Lightly oil any metal part to prevent future rust.
- Oil any wooden handles with boiled linseed oil. Follow the container's instructions for use and proper storage. Handle and dispose of oily rags by following National Fire Protection Association guidelines. Important: Oily rags stored improperly can lead to spontaneous combustion!
- Inspect your tools to ensure they aren't cracked, broken, or dangerous. Depending on the damage, some grip handles might be replaceable or re-dipped in a grip coating. Hardware stores usually have options available. Tighten any loose parts. Replace any tools that have outlived their usefulness.
Cleaning power tools
Power tools include lawnmowers, string trimmers, leaf blowers, and more.
- Follow the manufacturer's guidelines for cleaning. If you can't find the original manual, manufacturers might have them online for downloading. If not, they might have some general cleaning instructions.
- Unplug or remove any elements that can power the tool on (e.g., spark plugs, batteries).
- Remove any debris like dirt, grit, and grass clippings. Use an old rag or soft brush on plastic parts. Metal parts might be able to handle a tougher scrub brush, but consult the manufacturer's guidelines.
- Dry any parts you washed thoroughly before reassembling.
- Inspect and replace any worn-out parts.
- Lubricate any blades or moving parts as needed.
Cleaning protective gear
Protective gear includes gloves, hats, aprons, boots, and more. While these might not be the first tools you think of, they still count!
- Shake out your protective gear to remove any loose bits of dirt, grit, and debris.
- Scrape dirt off of your boots and leather gloves.
- Wash fabric gloves, aprons, and hats as directed. If they are machine washable, wash them separately from other laundry.
- Dry out your gloves, aprons, and hats thoroughly before storing them.
- Inspect your protective gear for any holes or wear and tear.
- Repair or replace as needed.
Staying ahead tool cleaning and maintenance
Light cleaning and maintenance throughout the gardening season can keep your tools in good working order and make winter cleaning easier. Here are a few tips to keep in mind.
- Wash your hand tools after every use. Dirt and grit are much easier to remove when they're still fresh. Thoroughly dry your tools before storing them, and lubricate them as needed throughout the seasons.
- If you're using tools frequently, consider keeping a bucket full of sand and oil. In any bucket mix layers of oil (any oil like vegetable oil, mineral oil, etc.) sand together. After rinsing dirt off your tools, plunge the tools in the bucket as needed to sharpen and clean the tool simultaneously.
- Sanitize any cutting tools after use. This is vital if you use them to prune infected plants. Immediately sanitizing them prevents the spread of any disease. A sanitizing solution can be made with bleach and water. (See this PDF for details.) And you can confidently know they're clean the next time you cut something.
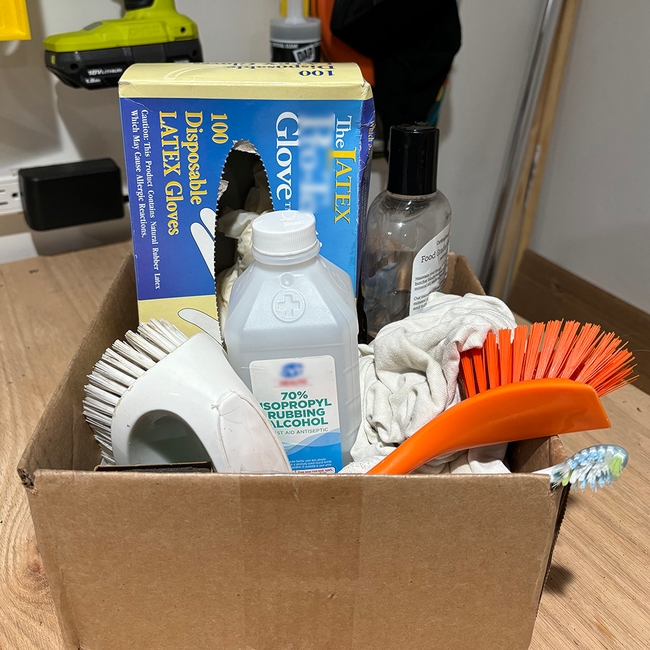
- Create a kit for your cleaning supplies. Having all your cleaning supplies in one place will make cleaning your tools easier at any time. Ensure you properly store cleaning supplies like oily rags or boiled linseed oil to prevent spontaneous combustion. Keep your kit out of reach of pets and young kids.
If you'd like to know more about tool care, consider these other resources:
- Tool care tips from the UC Master Gardeners of Santa Clara County
- Shovel sharpening tips from the University of Florida IFAS Extension
All photos are by Michelle Chin, UC Master Gardener.


